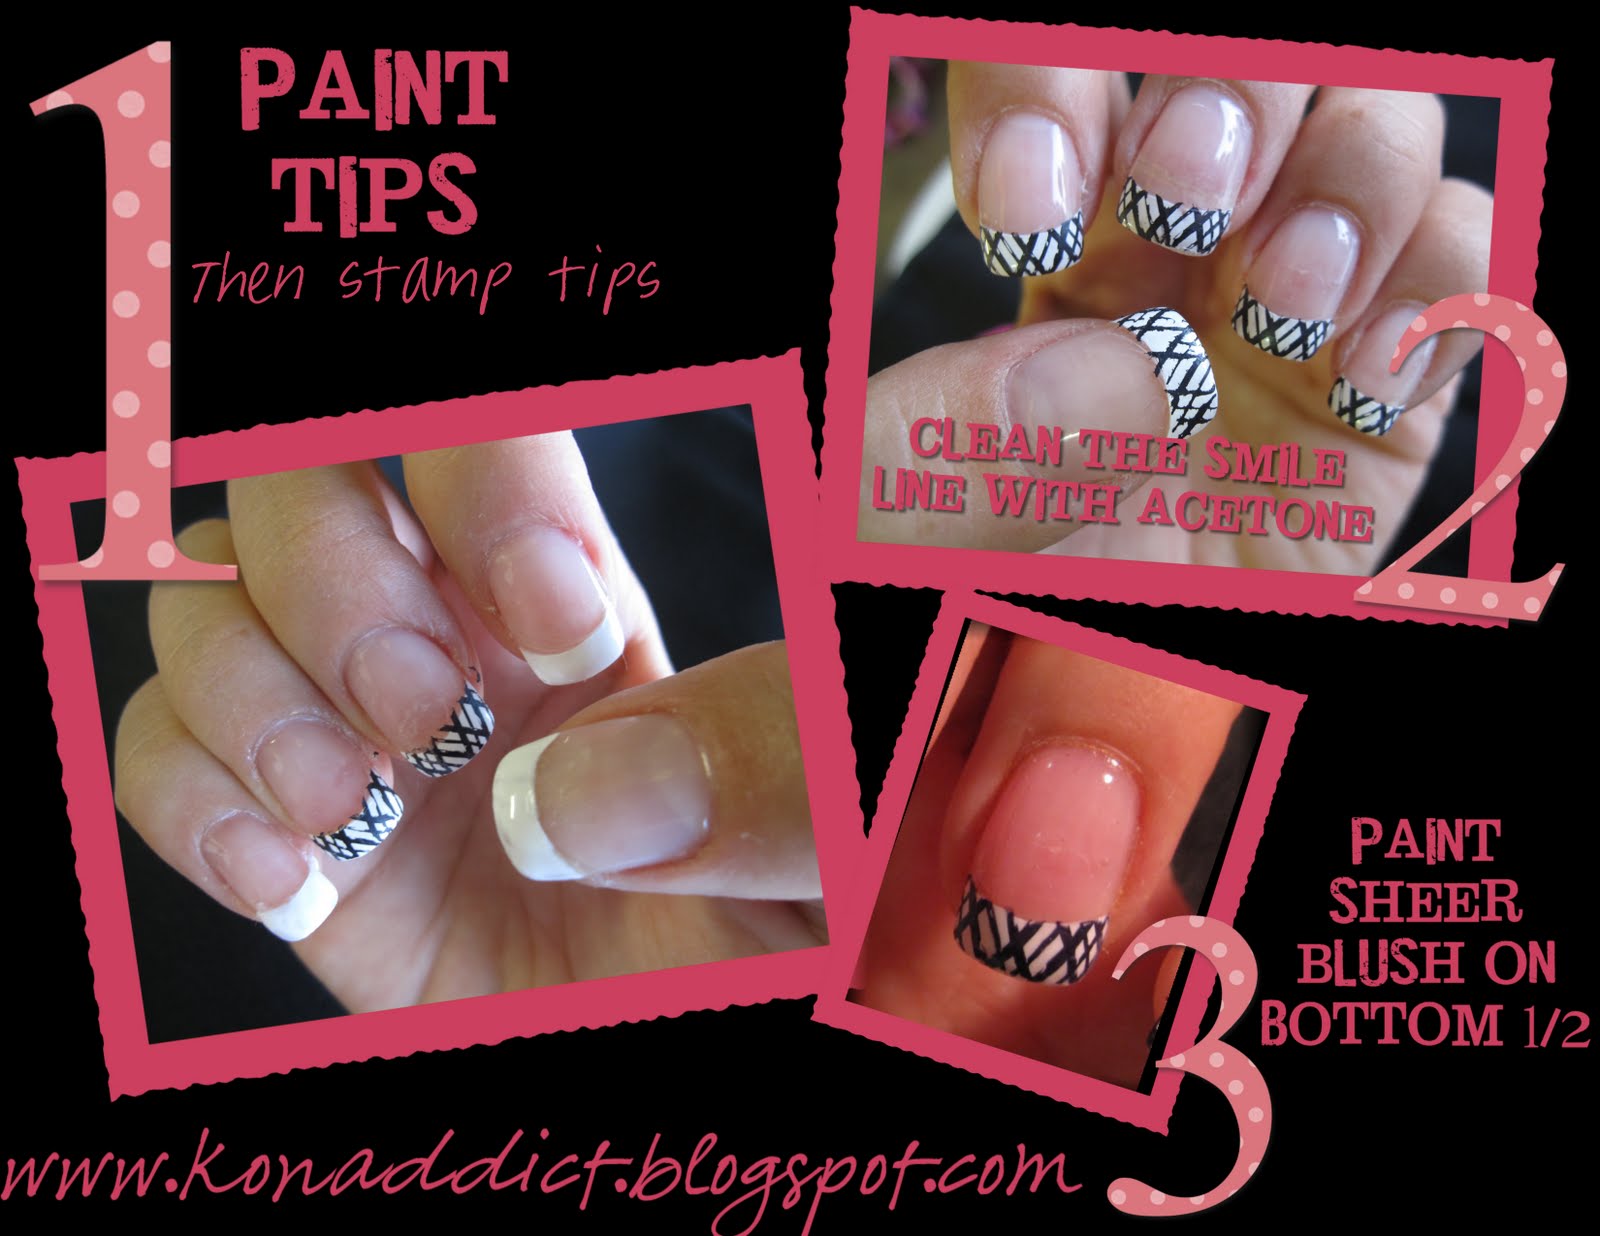
I Keep getting requests for the name of the sheer blush color I use for the base color with french tip designs. I have used both store bought colors, and ones I have "frankened" myself.
 Here is the China Glaze polish I use...though it has a slight peachy color to it. you can see what I mean in this picture above. Recently I have add a few drops of a china glaze color ( red one...don't have the name off hand) to "blush" it up to my liking.
 Here is a picture of the one I have made. It seems really pink in the bottle, but goes on sheer and light pink. Just the perfect color to make your nails look fresh.
 Make it yourself. You will need a clear bottle of polish, slightly emptied. Add a few drops at a time of any nude/beige color you have. Then add a couple drops of red to the polish....one drop at a time until you get the desired color. I don't have an exact recipe here (much like my cooking) just work it to your liking...it's not a science. Don't forget to swatch it now and again during to process to check the color.
Good luck, now go franken your own!


 Thanks for peeking in to see what I finally posted.
 Here are the supplies I used: plates m31 & M57, a base gray color (drugstore find Sally Hansen Gunmetal)